I know that many crocheters (especially beginners) don't like sewing of crocheted details. I have to admit I too really disliked this work at first. Then, in time, I learned some sewing seams, and this process has ceased to be so exhausting for me.
Now I often include this small tutorials on sewing in my patterns for sale.
Today I want to share one of my ways to sew amigurumi details. This method is great for sewing the head to the body, for example.
Now I often include this small tutorials on sewing in my patterns for sale.
Today I want to share one of my ways to sew amigurumi details. This method is great for sewing the head to the body, for example.

2. Come back into the same stitch of the body. Pass your needle behind the vertical loops of the stitch, get it out into the next stitch.
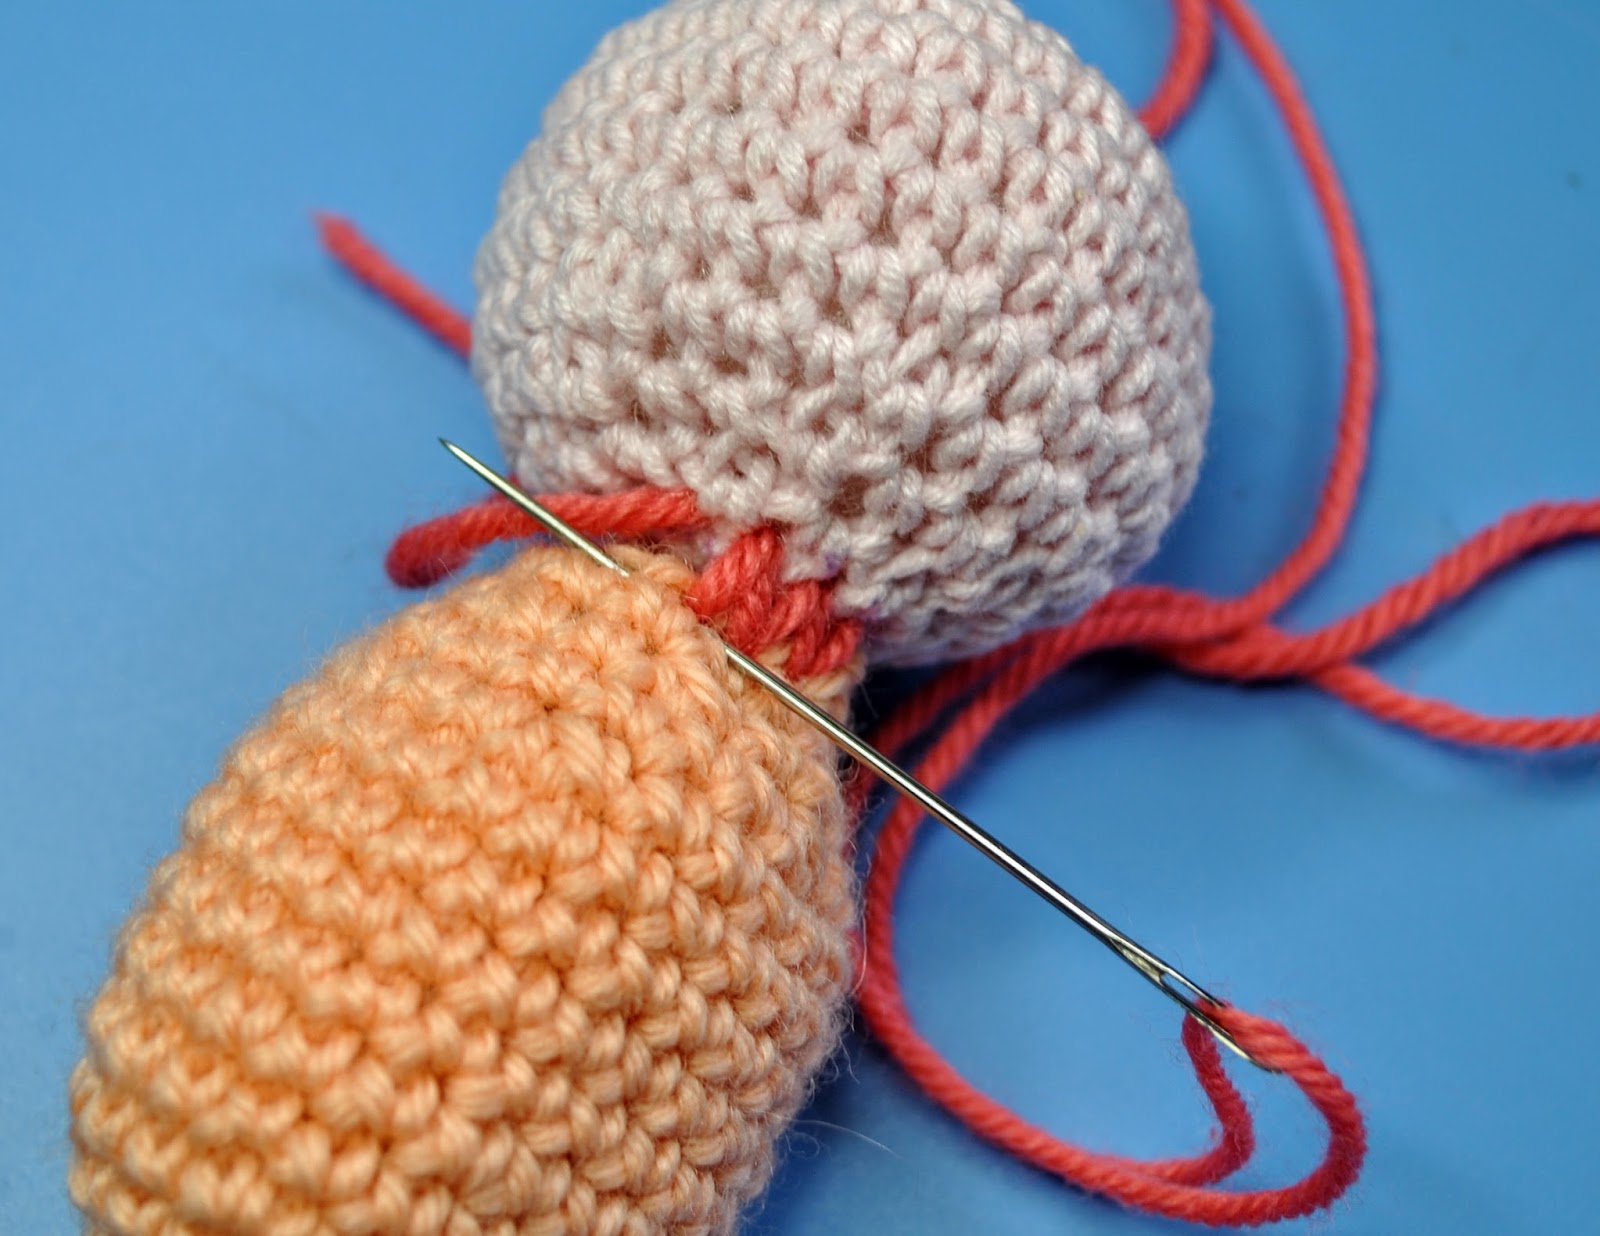
3. Repeat steps 1, 2. Sew each stitch twice!

This method fit for sewing details as with opened finishing holes and as well with closed holes.
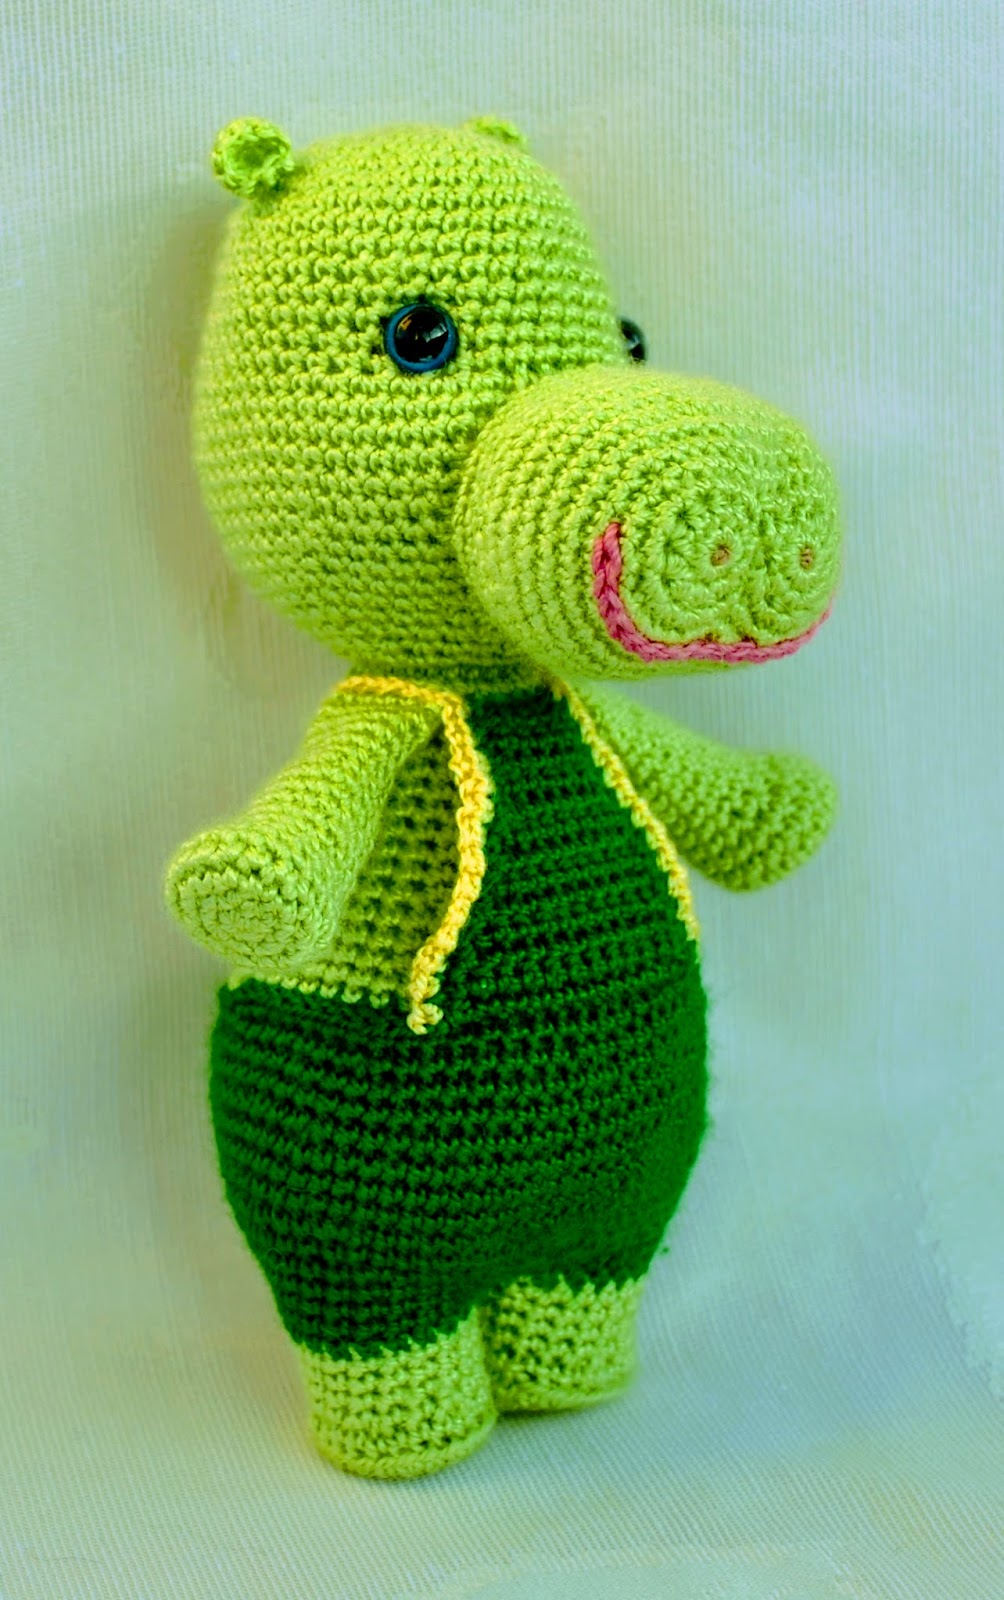
The Hippo's Snout is sewed the same way, but this case your needle have to pass through the nearest stitch of the Head.
Try this method, it's so easy! Happy stitches to you!
No comments:
Post a Comment